How to Organize Your Foreign Language Notebook
When you hear “the notebook,” what do you think of?
A shirtless Ryan Gosling?
Well, we’re here to forever change the meaning of “the notebook.”
A foreign language notebook is your own personalized repository of all the most valuable knowledge you gain on your road to fluency, so why not fall in love with the best notebook of all?
Here are 9 tips to make it happen!
Contents
- 1. Find the right notebook for you
- 2. Write down your language learning goals
- 3. Divide your notebook into logical sections
- 4. Leave enough space for each section
- 5. Always do a test page
- 6. Add lots of color coding
- 7. Make your notebook visually appealing
- 8. Use sticky tabs to organize
- 9. Keep a list of creative writing ideas
- Why Use a Foreign Language Notebook?
- Resources to Help You Organize Your Notebook
- And One More Thing...
Download: This blog post is available as a convenient and portable PDF that you can take anywhere. Click here to get a copy. (Download)
1. Find the right notebook for you
The beauty of keeping a foreign language notebook is how customizable it is!
You can choose what kind of notebook you want to use and then set it up however you’d like. Your language notebook can be as simple or complex as you desire, with a strict design and lists or a loose structure.
Planning is an important part of choosing the right notebook. Your first consideration should be how big or small you’d like your notebook to be.
You can use a plain lined notebook, a classic composition notebook or you could simply repurpose an old binder and fill it with notebook paper.
Or, if you just want to give this a try without too much effort, you can find language worksheets and house them in a notebook for an easy, low-maintenance start.
See the Resources section below for more notebook options and examples of successful language notebooks.
2. Write down your language learning goals
Once you have your notebook, I recommend writing down your goals as soon as possible. These can simply be a page, or your goals can have a whole section in your notebook (see the next step for more info!).
Think about what you want to achieve. Ask yourself questions like:
- How many sentences do I want to be able to write?
- What kind of writing do I want to do?
- What new words do I want to learn to use?
- Which grammar concepts do I need to master?
Ideally, you’ll set up a series of goals, each one getting bigger or harder as you go along. Writing them down will help you track your progress and success.
For example, every couple of weeks, challenge yourself to write for a longer period of time without using a dictionary. This helps you learn to be imaginative with the language and see where your weaknesses are.
Of course, you can also create a system to reward yourself when you reach a goal, too.
Writing down your goals in your notebook means it’ll be very clear when you achieve them, so why not plan to recognize your progress?
A reward could be something as simple as fun stickers or new stationery. Maybe you’re keeping a list of foreign movies to check out, so now would be a great time to watch one.
Completing a goal and moving on to the next one means you’re moving forward with using your target language. Let it motivate you to keep going!
3. Divide your notebook into logical sections
This is an important component of a successful notebook. Having designated sections will make it easier to navigate and cut down on wasted time and space.
Some possible sections you might want to include are:
- Language goals: Helpful for remembering what you want to work on and tracking progress.
- Grammar: Provides a clear reference for important rules and concepts.
- Vocabulary: Track new words and reinforce old ones; don’t forget to include example sentences!
- Idioms and phrases: Especially useful for note-taking during listening practice sessions.
- Writing practice: Dedicated space for using your vocabulary and grammar.
Of course, sections can vary based on personal preference.
Take some time to brainstorm what you plan to work on, what reference materials you want handy and what would be fun to include—a list of books, songs and podcasts you want to look into, for instance.
If you’re really unsure, I recommend three equal sections for your first foreign language notebook: vocabulary, grammar and writing. Those will cover the most important basics without being overwhelming.
4. Leave enough space for each section
Once you know your sections, you’ll need to decide how many pages each one needs. Consider this carefully—you don’t want to cram too much information onto one page or (gasp!) have to start a new notebook from scratch.
The trick is to consider your page layouts ahead of time because the amount of space you need depends mostly on your organization.
For instance, if you plan to organize your vocabulary words thematically (i.e., medical vocabulary, business words, etc.), you’ll likely need a page or more for each major theme. Verb conjugation charts take up even more room.
You might even choose to separate sections like grammar and vocabulary into entirely separate notebooks to allow yourself as much space as possible to spread out!
You also want to ensure that you have room to:
- Include helpful details. Do you like copying a lot of example sentences? Do you want in-depth grammar instructions? Leave space for these.
- Add more information later. There’s always the chance of learning something new about a vocab word or grammar rule. Try to keep your margins clear for this purpose.
5. Always do a test page
It may seem like an unnecessary step, but a test page can save you headaches down the road.
Testing your layout will save you the trouble of redoing the journal or ripping out the page if you realize your scheme doesn’t work.
Test pages are particularly useful for very visual pages, like thematic vocabulary pages—especially if you intend to have several similarly-formatted pages throughout your notebook.
First, consider what you want on the page. You might be including vocabulary words and drawings, verb conjugation charts or something else that takes up a lot of room.
Now, try blocking off the space that you would reserve for each component. Even better, try drawing out the layout on a separate paper of the same size. Look over it carefully and consider points like:
- Does it work well?
- Is it logical and easy to read?
- What could be improved?
- Does the spacing need to change?
- Are the colors and decorations ideal?
Doing this will make it much easier to see what does and doesn’t work before you commit to a language notebook full of pages you don’t quite love.
6. Add lots of color coding
Color coding your foreign language notebook is more than just pretty—it can also communicate key information at a glance.
Whether you use colored pens, highlighters, sticky notes or some combination, good color coding will make your notebook easier to use and more enjoyable to study from.
You can color code parts of speech, or use different colors for words in your native language and your target language. Color coding by gender works for languages like French or Spanish, while coding by tone works for Mandarin Chinese.
Not only will this help visually organize your notes, but it’s also thought that color coding helps you retain and recall information!
Regardless of what scheme you choose to use, it’s helpful to jot down your color coding key at the beginning of your notebook so you can refer back to it if necessary.
7. Make your notebook visually appealing
Beyond color coding, truly committing to making your foreign language notebook visually appealing will help you out even more.
You can use things like headings, diagrams, stickers, borders, boxes and more to help you organize your information and present it clearly.
For instance, use drawings to represent the meanings of vocabulary terms. As you draw, think about the word to help reinforce it. Besides making your notebook more interesting to look at, it also helps you associate the word with its actual meaning rather than the English translation.
In this video, language learner Bia shows off her clean, color-coded journal pages. For another take, check out the notebook of Abigail from Polyglot Progress. Both are full of great ideas and inspiration!
8. Use sticky tabs to organize
Sticky tabs are any organization junkie’s best friend.
They protrude from a page so you can easily find any section. You can put them at the top, side or bottom of the page depending on your preference and design aesthetic. You can label them if you desire, or leave them blank.
Using sticky tabs will make it easy to flip between sections, which is important when you want to add information or refer back to something.
Your notebook will feel infinitely more useful and you’ll save time thumbing through pages. Plus, sticky tabs look super professional and polished, so that’s satisfying in and of itself.
9. Keep a list of creative writing ideas
That writing section of your notebook seems like a great idea at first, but there will probably come a time where you find you’re struggling to come up with what to write.
Of course, you can write whatever you want, but it’s a good idea to keep it varied. It’s like using different equipment at the gym—working different muscles makes you stronger overall.
So, writing creatively makes your language skills stronger in general. Here are some ideas to jump-start your practice:
- Write a letter or email to a friend.
- Write a diary entry.
- Review a book, movie, show, recipe or restaurant.
- Plan a dinner menu.
- Write a magazine article.
- Create a make-believe travel journal.
- Write a dialogue using new vocabulary or grammar.
You can find even more ideas in this post.
You can also use any native language content you consume to inspire your writing practice.
For instance, if you’re using the language learning program FluentU, you can learn vocabulary, grammar and pronunciation from authentic videos. This multimedia experience can provide plenty of content to write about.
You can even bring FluentU on the go in app form, so you can jot down your thoughts in your foreign language notebook afterward, no matter where you are.
FluentU takes authentic videos—like music videos, movie trailers, news and inspiring talks—and turns them into personalized language learning lessons.
You can try FluentU for free for 2 weeks. Check out the website or download the iOS app or Android app.
P.S. Click here to take advantage of our current sale! (Expires at the end of this month.)
And no matter what you write about, don’t forget to go back and review. This will help you figure out what else you need to improve on, and eventually, it will show you just how far you’ve come.
Why Use a Foreign Language Notebook?
One key reason to use a foreign language notebook is that writing things down makes them easier to remember. As PBS’s NOVA Next reports, taking notes with pen and paper helps improve students’ conceptual understanding of that material.
For language learners, the benefits of using a foreign language notebook to aid memory are obvious. It could improve your retention of vocabulary words and help you better understand grammar rules. That’s a lot of awesome packed in one little notebook!
Second, maintaining your own reference resource is often more useful than relying on outside materials. After all, it’s customized to you, so it should be easy for you to use. Plus, you can return to your notebook down the road if you forget the language at some point.
Additionally, using a foreign language notebook is a good way to track your progress and help keep you motivated. Nothing’s better than seeing how far you’ve come! That way, you never feel like you’ve reached a language learning plateau—you have evidence to prove you’re moving forward!
Setting goals is also helpful because it keeps you continuing along at a good rate. One study out of Harvard indicates that goal setting can increase both motivation and achievement. You can set your goals in your language notebook so that you’re always accountable to yourself.
Finally, you can use your foreign language notebook to target specific errors you need to correct. Errors in language learning can build, but your personalized notebook can be used to target these errors. For instance, if you’re struggling with a particular verb conjugation, you can dedicate several pages to explaining it and listing conjugation charts.
Resources to Help You Organize Your Notebook
Starting a language notebook from scratch can be daunting. Luckily, there are resources out there that can help.
There are specially-formatted notebooks available for purchase that can take some of the guesswork out of your layout. There are also great videos of how some language learners created and organized their own personal notebooks to help you get started.
Our hope is that these will be an inspiration to you as you start your journey. Take a look at:
- Language Learning Notebook: Don’t have an artistic eye? Try out this notebook. It’s organized with spaces for vocabulary, useful phrases, resource lists, study trackers and more.
- Lindie Botes – Language notebook flip through: In this video, language learner Lindie flips through her beginning Vietnamese journal to show you her set-up and what her notes look like.
- Jazmine Layah – how to take notes: Here, Jazmine gives viewers a quick look at her super-aesthetic Japanese notebook and provides a rundown of how she takes such pretty notes.
Even once your notebook is full, it still isn’t over. There’s always another notebook to fill with fun language learning!
Download: This blog post is available as a convenient and portable PDF that you can take anywhere. Click here to get a copy. (Download)
And One More Thing...
If you dig the idea of learning on your own time from the comfort of your smart device with real-life authentic language content, you'll love using FluentU.
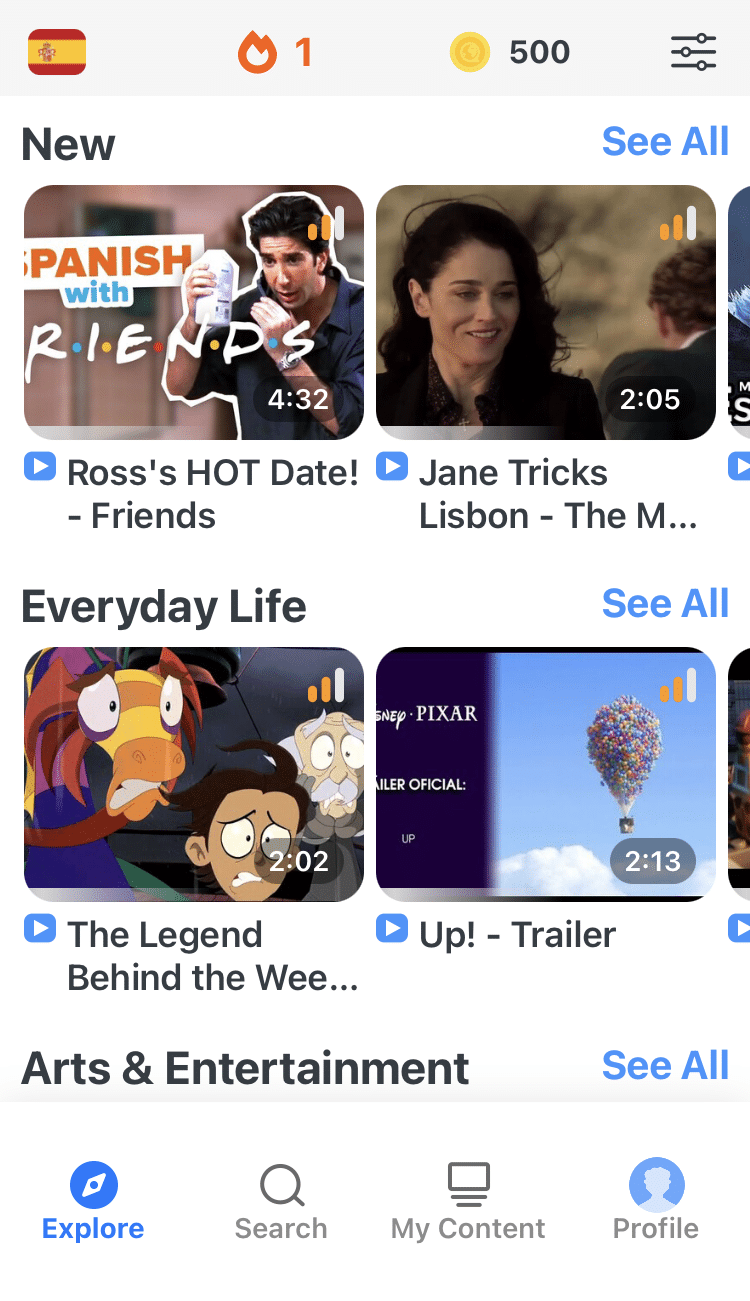
With FluentU, you'll learn real languages—as they're spoken by native speakers. FluentU has a wide variety of videos as you can see here:
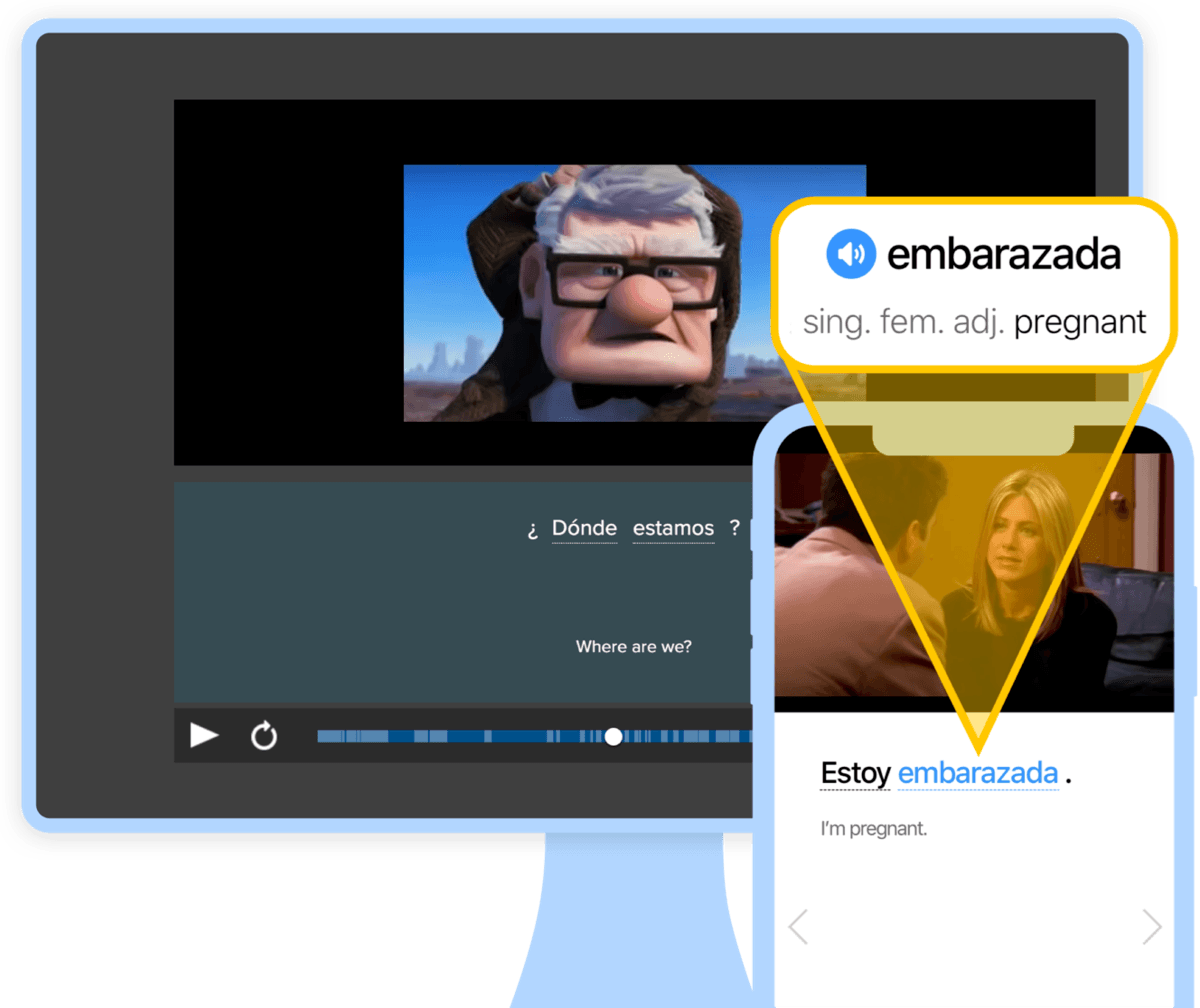
FluentU has interactive captions that let you tap on any word to see an image, definition, audio and useful examples. Now native language content is within reach with interactive transcripts.
Didn't catch something? Go back and listen again. Missed a word? Hover your mouse over the subtitles to instantly view definitions.
You can learn all the vocabulary in any video with FluentU's "learn mode." Swipe left or right to see more examples for the word you’re learning.
And FluentU always keeps track of vocabulary that you’re learning. It gives you extra practice with difficult words—and reminds you when it’s time to review what you’ve learned. You get a truly personalized experience.
Start using the FluentU website on your computer or tablet or, better yet, download the FluentU app from the iTunes or Google Play store. Click here to take advantage of our current sale! (Expires at the end of this month.)


